

What is Hostinger? A Comprehensive Guide to Web Hosting and Domain Services
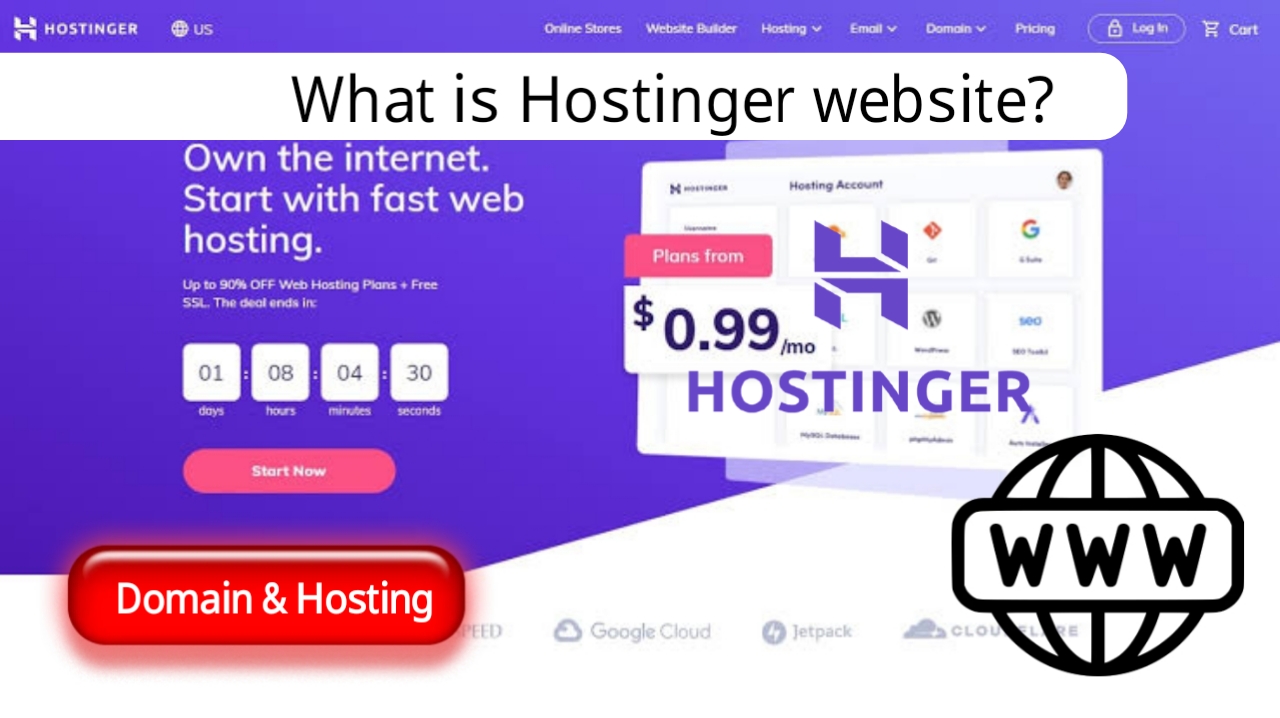
Hostinger is a well-known web hosting platform offering a range of hosting services, including shared hosting, cloud hosting, VPS hosting, and WordPress hosting. It’s popular among individuals and businesses for its reliable performance, affordable pricing, and user-friendly interface. Whether you're launching a personal blog or building an online store, Hostinger provides everything you need to create and manage a website with ease.
In this guide, we'll explore what Hostinger is, how to purchase a domain and hosting from them, and how you can get started on your online journey.
What is Hostinger?
Hostinger is a platform that allows individuals and businesses to register and manage domain names, create custom websites, and host web content securely on servers. From beginners to experienced developers, Hostinger offers tools and services to make website creation and management simple.
Hostinger stands out with its affordable pricing, reliable performance, and user-friendly interface, making it a popular choice for anyone looking to establish an online presence. In addition to hosting, Hostinger provides several useful tools, such as website builders, email accounts, SSL certificates, and customer support, ensuring your website is well-equipped for success.
What is a Domain? How to Buy a Domain from Hostinger
A domain is essentially the unique address used to locate a website on the internet. It consists of two main parts: the domain name (e.g., example) and the domain extension (e.g., .com). Domains are crucial for identifying your website and are the first step toward getting online.
Here’s how to buy a domain from Hostinger:
Visit Hostinger’s Website Go to www.hostinger.com and click on the "Domains" tab in the top menu.
Search for a Domain Name Enter your desired domain name in the search bar and click "Search". Hostinger will show you if the domain name is available.
Add to Cart If the domain is available, click "Add" to add it to your cart.
Select Additional Services (Optional) You can choose to add services like WHOIS protection, an SSL certificate, or email hosting to your order.
Proceed to Checkout After reviewing your order, click "Checkout" and create an account or log in if you already have one.
Payment Select your payment method, complete the payment process, and your domain will be registered.
Confirmation You will receive an email confirmation with all the details of your domain purchase. You can manage your domain through Hostinger’s control panel.
How to Get a Free Domain with Hosting
Some hosting providers, including Hostinger, offer a free domain with select hosting plans. Here’s how to get a free domain from Hostinger:
Research Hosting Providers Look for hosting providers that include a free domain as part of their hosting packages. Hostinger often provides a free domain with certain hosting plans.
Choose a Hosting Plan Hostinger offers various hosting plans such as shared hosting, VPS hosting, and cloud hosting. Choose a plan that suits your needs and includes a free domain.
Sign Up for Hosting After selecting a plan, sign up for an account with Hostinger, providing the necessary personal and payment information.
Search for a Domain Once you’re signed up, you can search for available domain names. Hostinger will let you search for the domain you want and check its availability.
Complete the Registration After selecting your domain, proceed with the registration process, and you’ll receive your domain as part of the hosting package.
Setup Your Website After registering, you can set up your website using Hostinger’s tools, such as the website builder or installing WordPress.
Note: While the domain is free initially, be aware that renewal fees may apply after the first year. Always check the terms and conditions for the renewal cost.
What is Hosting and How to Buy Hosting from Hostinger?
Web hosting is a service that allows individuals and businesses to store their website files and make them accessible via the internet. When you purchase hosting from Hostinger, you are essentially renting server space to store your website’s files, databases, and other essential components.
Here’s how to buy hosting from Hostinger:
Visit Hostinger’s Website Go to www.hostinger.com and click on the "Hosting" tab in the main menu.
Choose Your Hosting Type Hostinger offers various types of hosting, including shared hosting, VPS hosting, and cloud hosting. Select the one that suits your needs and budget.
Select a Hosting Plan Hostinger offers multiple hosting plans, each with different features, storage space, bandwidth, and pricing options. Choose the plan that fits your needs.
Add to Cart Once you’ve selected your hosting plan, click the "Add to Cart" button.
Review Your Order Review your order in the cart and click "Checkout Now".
Create an Account If you’re a new user, create an account by providing necessary details. If you already have an account, simply log in.
Enter Billing Information Provide your billing details and select a payment method (credit card, PayPal, etc.).
Complete Your Purchase After reviewing your order, click "Pay Now" to complete your purchase.
Confirmation Email After the payment is processed, you will receive a confirmation email with your hosting account details and setup instructions.
Key Takeaways
- Hostinger offers affordable, reliable, and user-friendly web hosting and domain services.
- Domains are the unique web addresses for your site, and you can buy them easily through Hostinger.
- Hosting provides the server space for storing your website’s content, making it accessible on the internet.
- Hostinger offers free domains with some hosting packages, allowing you to get both hosting and a domain in one go.
Whether you’re starting a personal blog, an online store, or a business website, Hostinger provides the tools and services needed to create and maintain an online presence. With affordable pricing, excellent customer support, and a range of hosting options, Hostinger is an ideal choice for individuals and businesses alike.
Ready to get started? Visit Hostinger to buy your domain and hosting today and launch your website in no time!
SEO Keywords and Tags:
- Hostinger web hosting services
- Buy domain from Hostinger
- How to purchase hosting from Hostinger
- Free domain with hosting
- How to set up a website with Hostinger
- Affordable hosting and domains
- Hostinger VPS and cloud hosting
- What is a domain name?
- How to get a free domain and hosting
- Hostinger hosting and domain registration guide

